

Podcasts are hot...or so I have been told. I always wondered what is involved in launching your own podcast and how do you even get started. I had this "podcast seed" planted in my brain for 2 or 3 years. I would think about it from time to time but never went any further with it.
Fast forward to a July 2020 and I was talking to a good friend of mine Jon Dowker. Now Jon runs the Freestyle Connection BMX Stunt Team and I use to ride with him in my younger years and am still an avid fan of the sport. I was helping him with his website. He mentioned to me that he would like to do a BMX podcast and turned me on to the Space Bros podcast (which is really well done). I told him I was interested in helping with that.
Concept
The first thing we did is discuss what we wanted the show to be about. Obviously, it was a BMX podcast, but we want to talk about the whole sport from the 80s to the present day covering riders, equipment, media, shows, contest, and touring. We would invite and interview industry guests and basically have BMX related conversations. Ok - so now we had a rough concept. Next, we had to learn how to actually record a show.
As part of the brainstorming process, we settled on the name "Banter: A BMX Podcast and some artwork to use for the podcast. I also created an intro bumper to place at the start of the show using some royalty-free music and a short voiceover intro I made.
Recording A Show
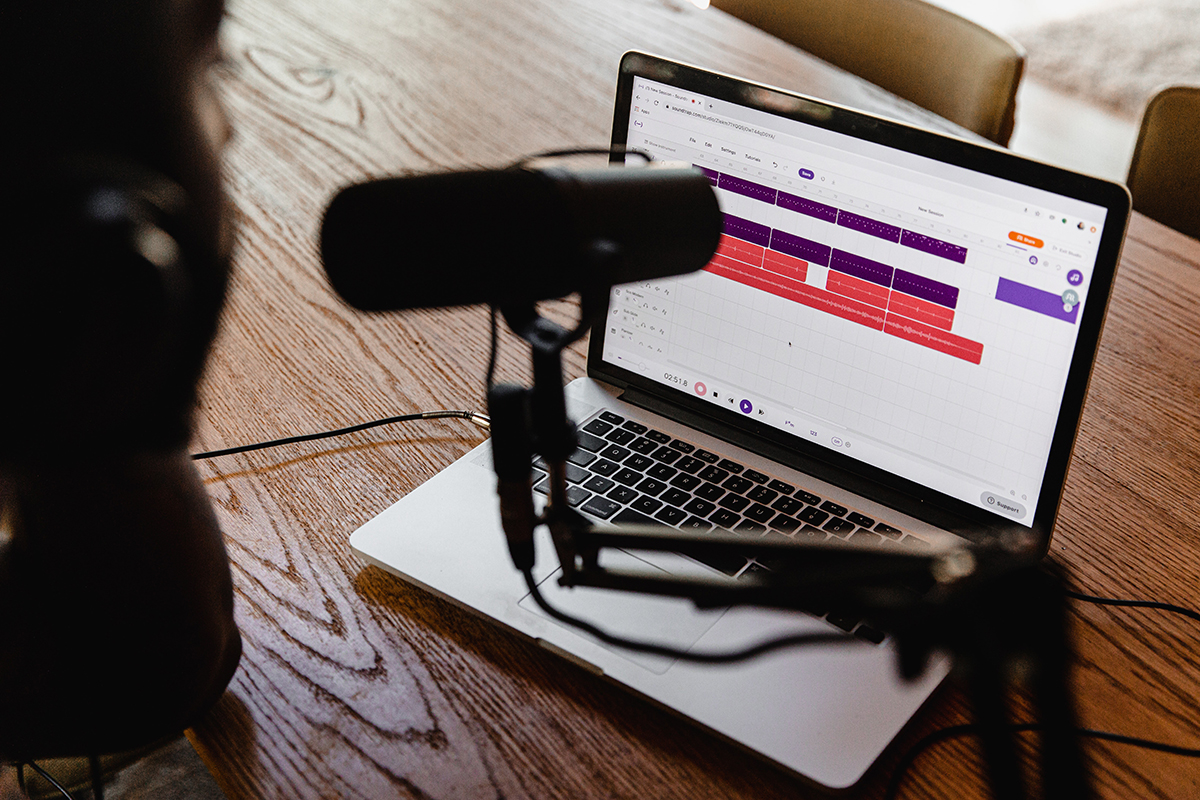
At first, I thought I could use Audacity or Apple's GarageBand to record the sessions. I quickly realized that with me living in Ontario Canada and Jon living on the east coast of the United States, coupled with the COVID-19 pandemic we wouldn't be able to get together to record any podcasts.
I then thought about using one of the popular virtual meeting services like Zoom, Microsoft Teams, or Google Meet. I know using these platforms in the past that the audio (and video) can sometimes be sketchy. I also know that having listened to a lot of different podcast sound quality is half the battle. No matter how interesting your content is - if your sound quality sucks it ruins the listening experience.
I did some research and read that there was a cloud-based service called SquadCast that was getting good reviews. I signed up for the free trial and tried a solo practice section. The sound quality was really good. The one thing that stood out to be about Squadcast is that it records the audio for each person participating separately. It provides each person's audio as a separate mp3 file.
I ended up signing up for SquadCast. It worked out to be just under $150 CDN for the year ($9 USD per month). The level I signed up for is "Dabbler". Dabbler allows you 2 hours of audio recording per month. Since Jon and I planned to release an episode per month this fit our requirements.
I set a date to record our first show with Jon. I then took that date and schedule the recording session in my SquadCast account. I invited Jon to the session within the account. SquadCast then sent Jon an email that had the URL he could click to join the session when it was time to record. The Dabble account allows you to have 4 people recording during your session. I am not sure if you go up to higher subscription levels if more than 4 people can record at a time.
Equipment
Now that we had a way to remotely record our podcast we needed to look at the equipment we had to connect and interact with SquadCast. The basics of what you need are:
- A decent internet connection (at least 5mbs to 10mbs - higher is better). I have a fibre connection to my studio and Jon has just a much slower connection, but it still meant the minimum requirements)
- A. computer to connect to the session with. I was using my 2020 Macbook Air (1.2Ghz quad-core Intel Core i7, 16GB of RAM, Intel Iris Plus Graphics 1536MB, and a 1TB storage drive). Jon was using an older Dell desktop - it was more than adequate to do the job.
- A microphone. I used a FIFINE USB mic. I bought it on Amazon (https://www.amazon.ca/gp/product/B06XQ39XCY/ref=ppx_yo_dt_b_asin_title_o08_s01?ie=UTF8&psc=1) which was in the $50 range. Jon ordered a similar mic from Amazon. Both did a decent job when we recorded our pilot episode.
- Headphones. Jon just used a pair of garden variety earbuds which he said worked fine. I am constantly on Microsoft Teams, Zoom and Google Hangouts (since COVID hit) and had purchased a pair of Beats Solo3 headphones. They are in the $250 range, are wireless, comfortable, and have pretty good sound quality.
- Finally, the last thing we needed was a quiet place to do record the show. Jon used a spare room in his apartment and had picked a time when his partner was at work. Now my studio is in a high traffic area in my house, which is usually fine, but with COVID my oldest daughter is attending University remotely and my youngest daughter would come home from school right when we were scheduled to start recording. I decided that I would relocate to my wife's workspace in our bedroom as she was at work and I could close the door. Both spaces worked out well. I also made a note to turn off my phone and silence anything else that may interrupt the silence during recording.
The bottom line is you don't need a really expensive or fancy setup to get started recording your first podcast. Jon used some basic equipment and his recording was just as good a quality as mine was.
Editing
Now that we had completed the recording of our pilot episode I need to edit it. As mentioned above there are several pieces of software I could use to do that (Audacity, GarageBand, etc). I spend a lot of time editing videos and have gotten pretty good using iMovie. I knew that I could export just audio from iMovie and decided that I would use it to edit the first podcast.
I download the two mp3 files from SquadCast that were generated when Jon and I did the recording. I then dropped them into iMovie's audio timeline, one under the other, and matched up to start. I trimmed out some audio that was recorded at the start of our session and then dropped the intro I had created into the very start of the audio clip.
For our first recording, I really didn't have to do much in terms of editing and was able to export the completed file right away. The only regret I have is my volume level was slightly higher than Jon's. I wished I had have brought my level down prior to the export.
A Finished Episode! Now What?
So we had come a long way. We created a concept, did the intro, artwork, recorded the pilot episode, edited the recording, and exported it to mp3 to be shared.
Now I had to figure out how to distribute it so people can listen to it. I did a little bit of research and decided to use a service called BuzzSprout. Buzzsprout allows me to build a page for my podcast, host the podcast, and distribute it to the major podcasting services like:
- Apple Podcasts Connect,
- Spotify Podcasters Dashboard,
- Google Podcasts Manager, &
- Stitchers Podcasters Portal
I choose the $12 USD per month package that allows 3 hours of uploads per month. Buzzsprout also made it easy for me to embed the podcast into websites and share it on social media. Honestly, there may be cheaper services out there, but Buzzsprout made it quite simple to host and distribute our podcast.
The other part of Buzzsprout I liked was following the stats. It shows you the number of downloads (this includes streams) of your podcast, what services it was listened to on, what devices were used to listen, and where the listeners were located.
The Bottomline
If you have something you want to share with the world a podcast may be for you. I am sure you could pull off a podcast for very little or no money, but I would suggest a budget of about $300-$500 CDN per year to do 12-18 episodes. I have found out over the years, that you tend to get what you pay for. I could use something like Skype, Zoom, Google Meet, Microsoft Teams, or just my audio recorder on my laptop or phone, but the sound quality would be poor and the product would suffer. I wanted the sound quality of our product to be good which would give the audience a chance to decide if they liked the subject matter of the podcast. I didn't want people tunning out because the audio quality was so poor.